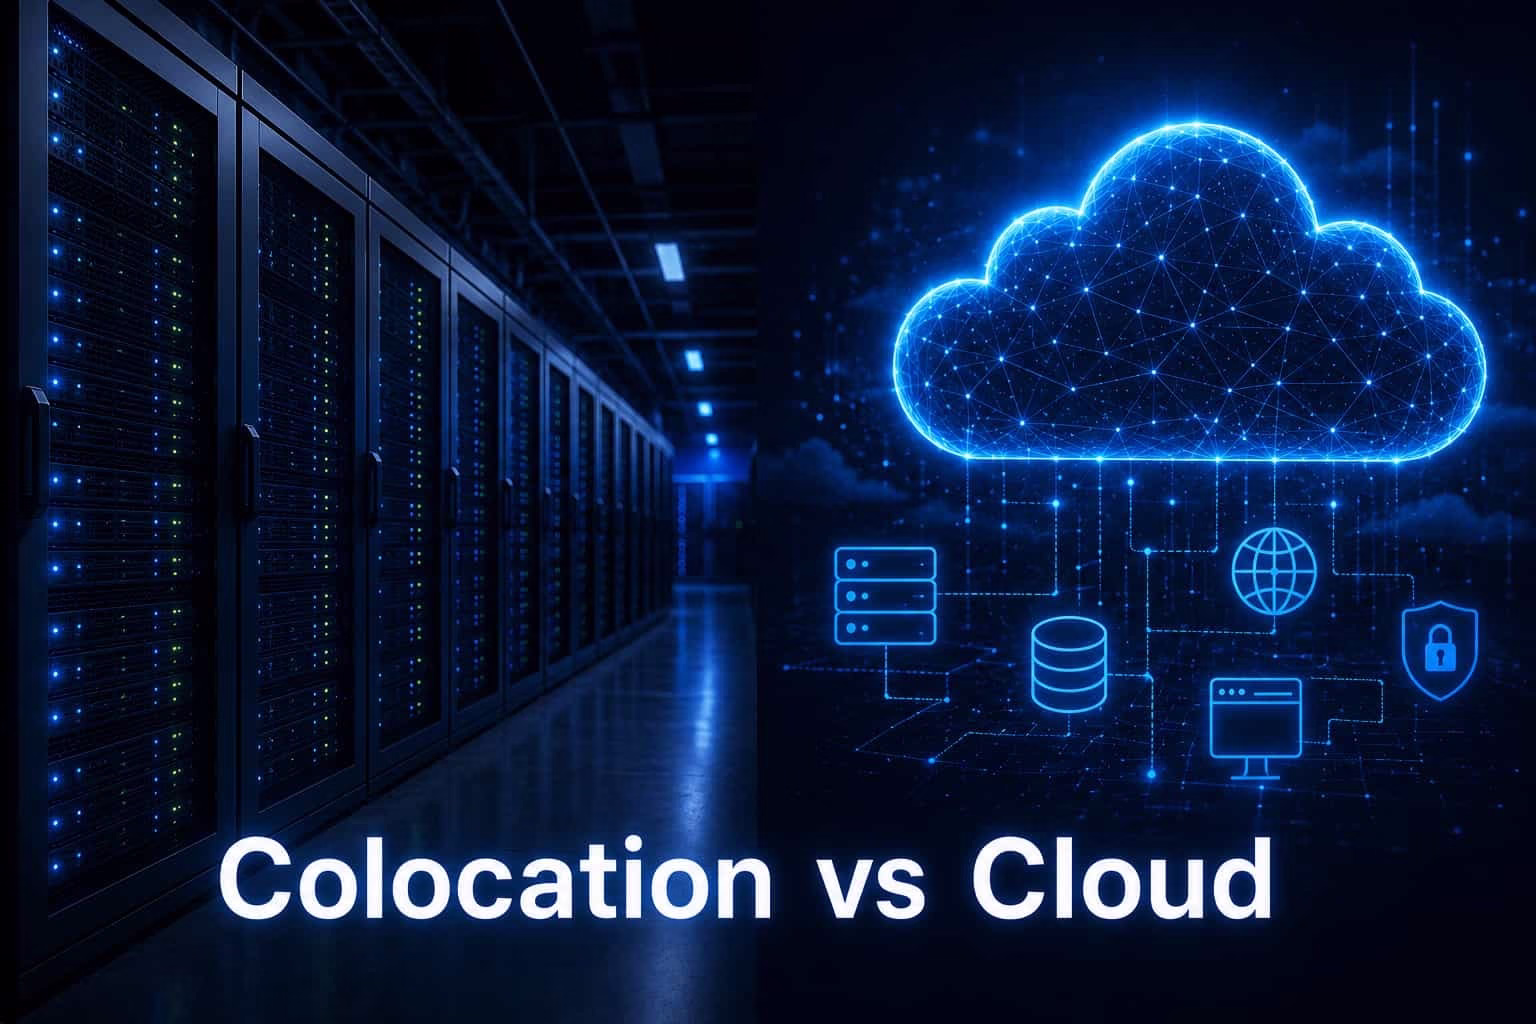
NetActuate Expands Networking Platform
Explore

NetActuate Expands Networking Platform

By clicking "Accept all" you allow cookies that improve your experience on our site, help us analyze site performance and usage, and enable us to show relevant marketing content. You can manage cookie settings below. By clicking “Confirm selection” you agree with the current settings.

This guide walks you through creating a new Virtual Private Cloud (VPC) on the NetActuate platform.
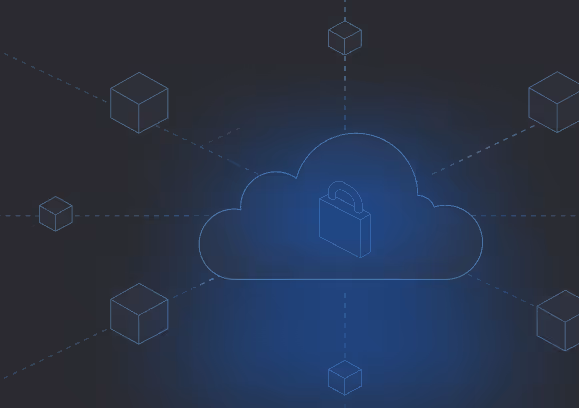
Secure Application: Backend Isolate database and application servers from the public internet while allowing secure administrative access
Global Edge Orchestration: Deploy VPCs across multiple global regions to create a distributed, secure backbone for low-latency microservices
Hybrid Cloud On-Ramp: Use secure tunnels to bridge your NetActuate VPC with existing on-premise or third-party cloud environments
High-Performance Hybrid Clusters: Connect a fleet of public cloud VMs to high-density, physical compute clusters (such as AI/ML workloads) via private, high-speed interconnects.
You are prompted with the network configuration for the VPC:
Note: It is recommended to keep the default outbound NAT rule enabled. Without it, VMs inside the VPC will not have internet connectivity unless you manually configure SNAT rules after deployment.
The portal displays a Building Cloud VPC screen where you can monitor the deployment progress. Once the VPC is built, click OK to enter the VPC.
Provisioning typically completes within a few minutes.
Once your VPC is deployed, you are taken to the VPC overview page. From here you can:
See Managing a VPC for a walkthrough of the VPC dashboard and deploying VMs.
For hybrid cloud setups requiring cross-connects or cloud on-ramp connections (e.g., AWS Direct Connect, Equinix Fabric), contact NetActuate support to initiate the provisioning.
Note: One-click integration between VPCs and Cloud Routers is a planned feature. For now, connecting a VPC to a Cloud Router requires coordination with NetActuate support.
Reach out to learn how our global platform can power your next deployment. Fast, secure, and built for scale.
%20(1).svg)
.png)